The standard mail client included in the Apple OSX is perfectly capable of connecting to Kolab Now. There are several possibilities. In this article Jane will go though IMAP (used for email) and CalDAV/CardDAV (used for calendars and contacts).
Jane got herself a fine new Mac Book with the (at the time of writing) latest version of OSX 10.13.4 – “High Sierra”.
After having registered the OS with her apple ID (for apple warranty) she want’s to configure it so she can use her Kolab Now email, contacts and calendar – even when not connected to the Internets.
|
|
|
| First she finds the Mail application in the menu line in the bottom of the screen. | |
|
|
|
 |
When she open the Mail application, it takes her directly into the ‘Add New Account’ menu. |
|
|
|
| She selects the ‘Add Other Mail account’ and fill the information into the screen. She gets the message ‘Account must be manually configured’. | 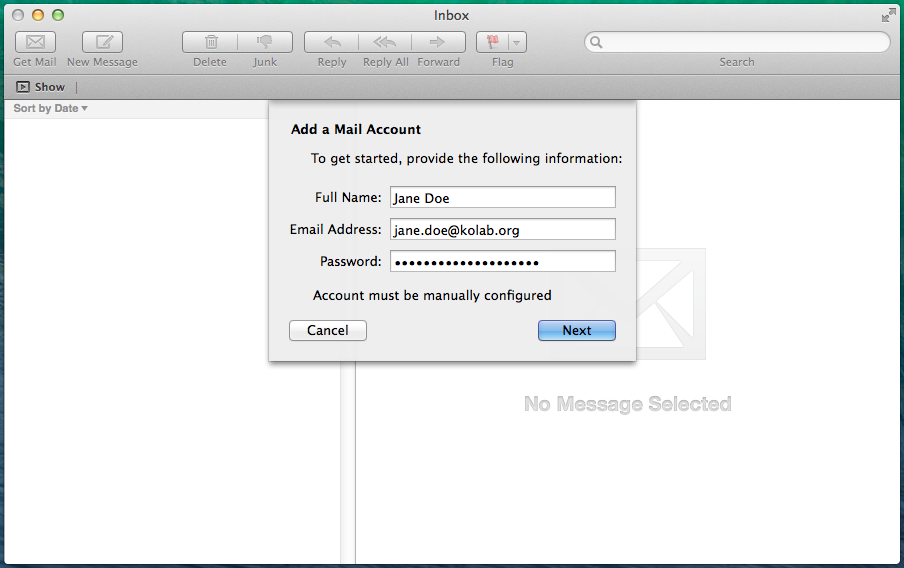 |
|
|
|
 |
When clicking ‘Next’, she get to enter the IMAP information as listed in the IMAP kb note. |
|
|
|
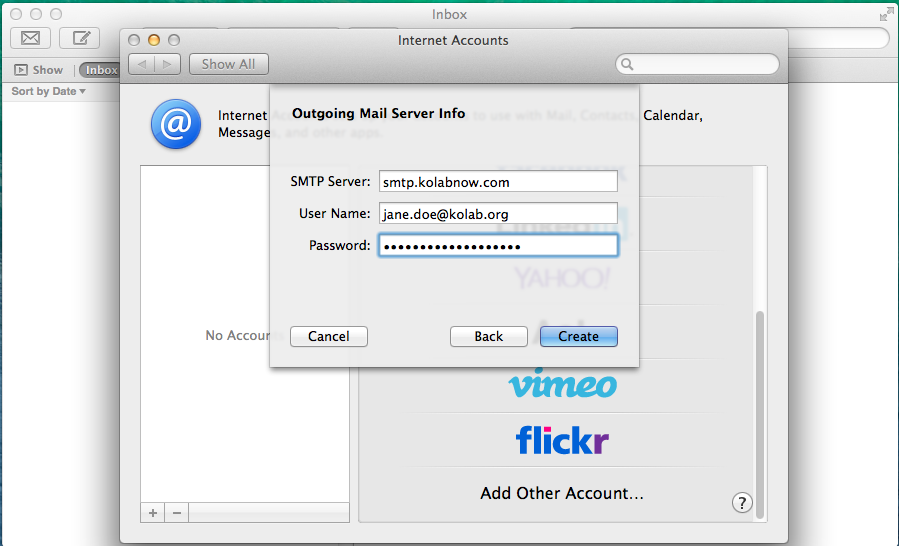
| … and the SMTP information listed in the same note.
She notes, that even when her primary email address is not @kolabnow.com, but @kolab.org, she has to connect to the servers: imap.kolabnow.com and smtp.kolabnow.com. |
 |
|
|
|
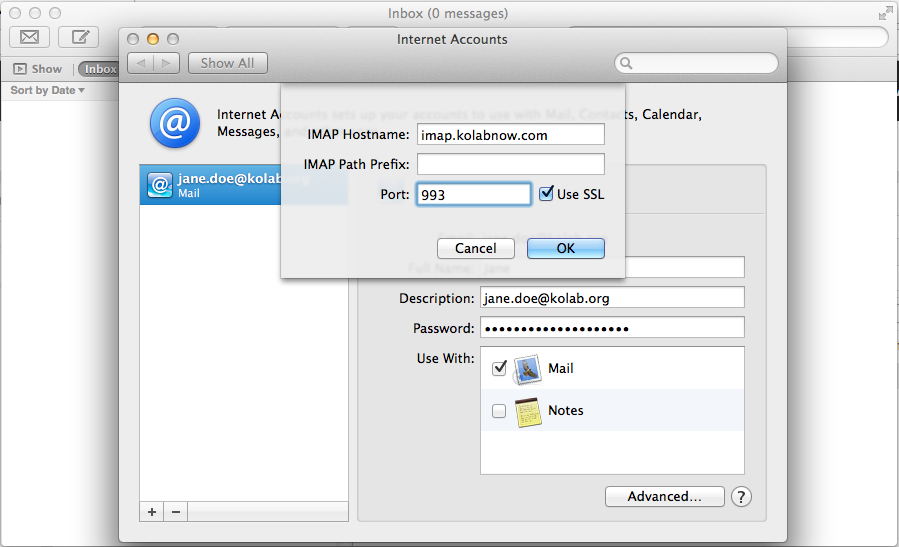 |
After pressing ‘Create’, she press ‘Advanced’ and set the port and encryption correctly. |
|
|
|
| Now her mail folder structure is available and her emails are flowing into the inbox. | 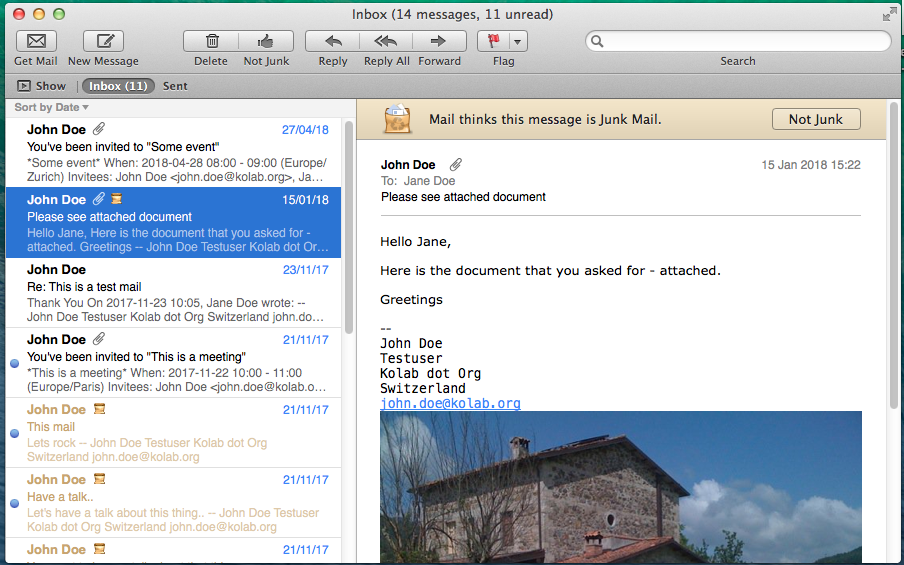 |
|
|
|
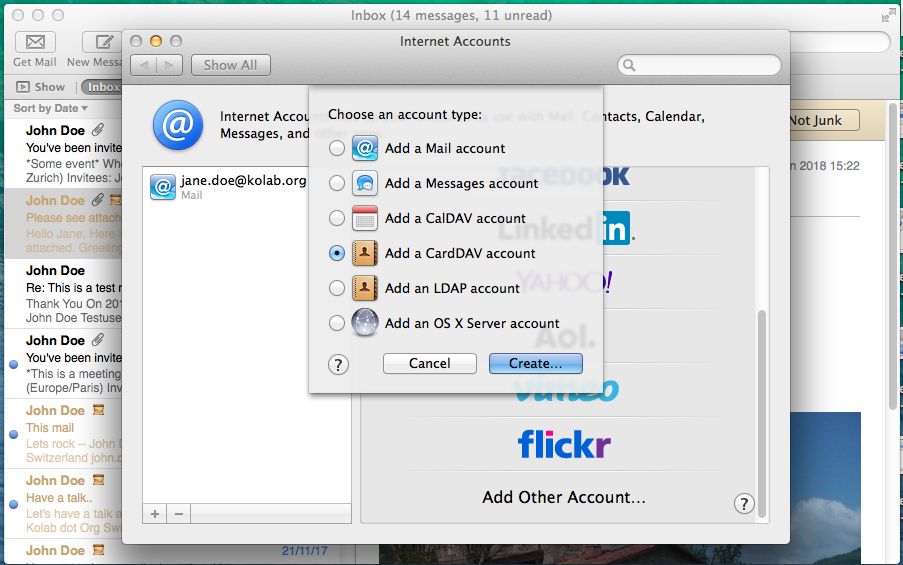 |
Moving on, she click the tiny + in the bottom of the account list, and select ‘Add a CardDAV account’. |
|
|
|
| She add the required information and click ‘Create’. Her contacts are now synchronizing. | 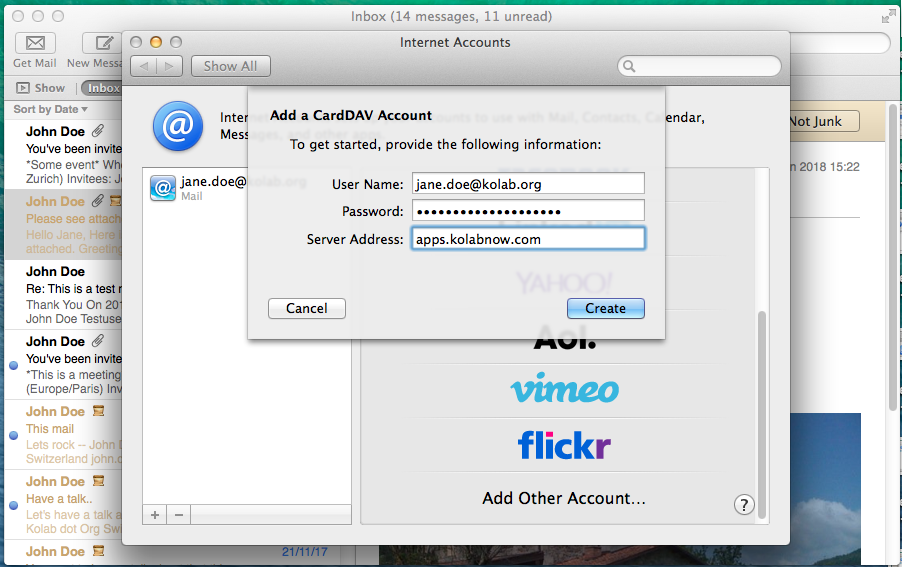 |
|
|
|
| To make sure that her contacts are there, she find the ‘Contacts’ application in the menu line in the bottom of the screen. | |
|
|
|
| Her contacts are all there. | 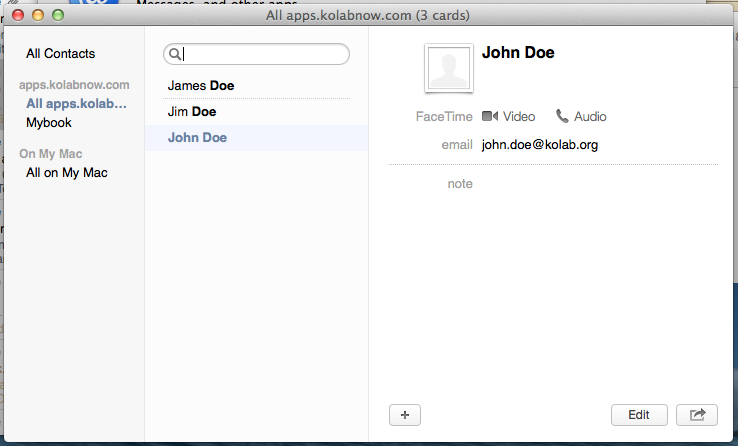 |
|
|
|
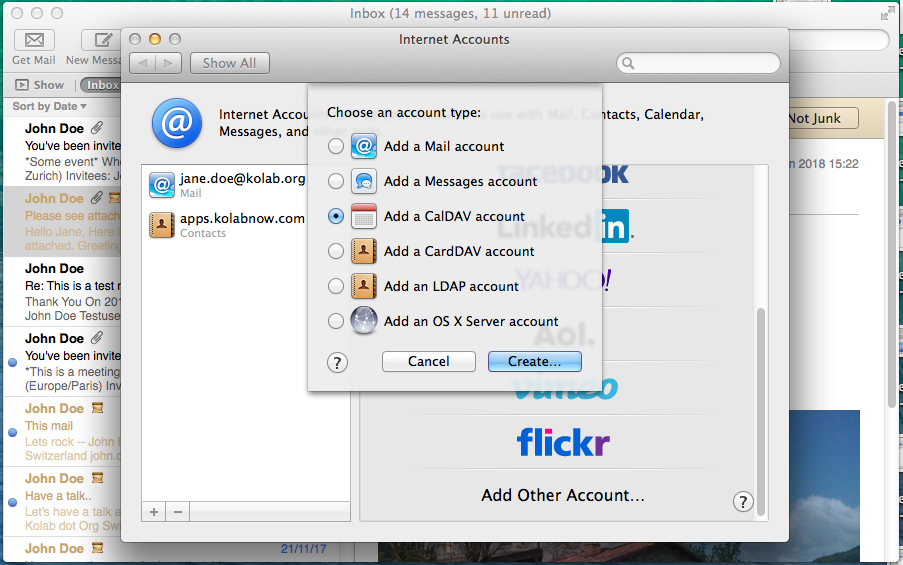 |
Now she wants her calendar to synchronize as well. As before, she click the tiny + in the bottom of the account list, and this time she selects ‘Add CalDAV account’. |
|
|
|
| She enters the requested information, and click ‘Create’. | 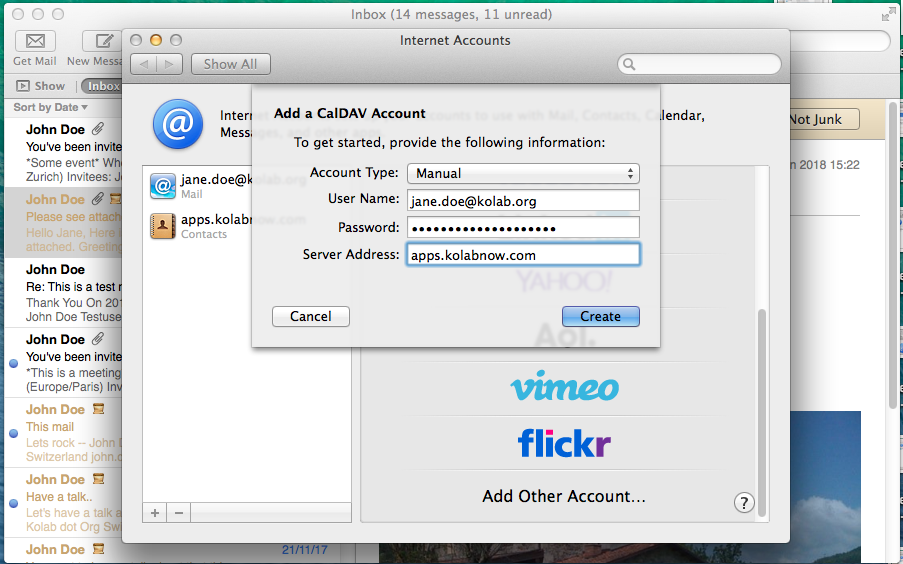 |
|
|
|
 |
Her calendars are now synchronizing, and the CalDAV account is created. |
|
|
|
| When selecting the ‘Calendar’ application from the menu in the bottom of the screen.. | |
|
|
|
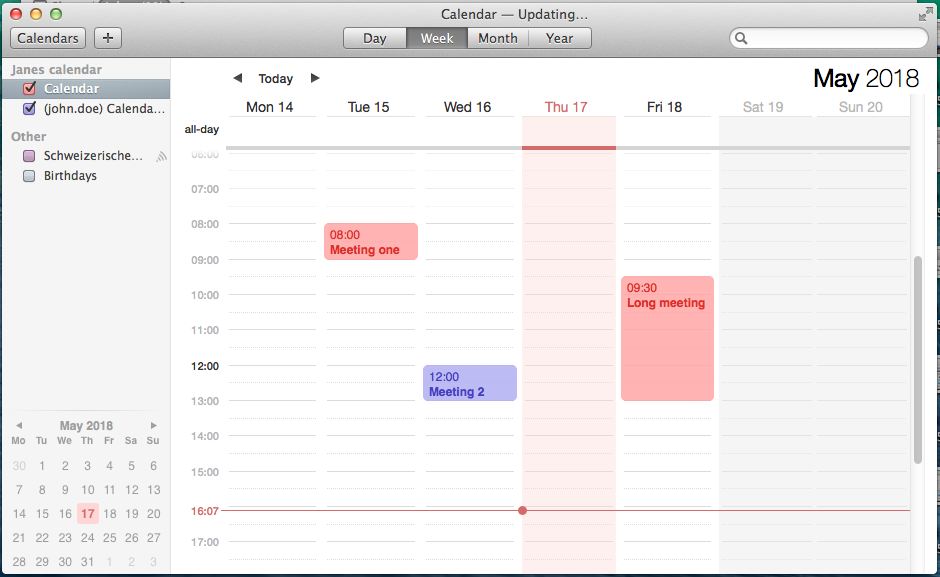 |
she gets access to her calendars in the application. |
|
|
|
Now Jane has access to her Kolab Now groupware data via her Mac Book.